Introduction
NRF24L01 wireless module, a modüldür.nrf24l01 the desteklemektedir.fiyat the SPI interface for making low-power wireless communication in the 2.4 GHz frequency is also quite cheap, this product can be obtained from the market in Turkey maker robotistan.co address.
Features
- Supply voltage from 1.9 to 3.6
- Low power consumption
- Worldwide 2.4GHz license-free ISM band operation
- 250m communication distance in open field
- Dimensions: 15 × 29 mm
- Receiver sensitivity is <90dB
- The transmitter signal strength: + 7dB
Scope of application
- Home and commercial automation
- Toys & Games
- Hobby electronics
- Advanced media centers in remote control
- Mouse, keyboard
- Game consoles
Study Application
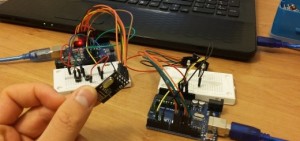
Enable basically two LEDs wirelessly control with two buttons . application basis if they can control the motor with the button, you improve your home’s lights or control spy robot applications up to you.
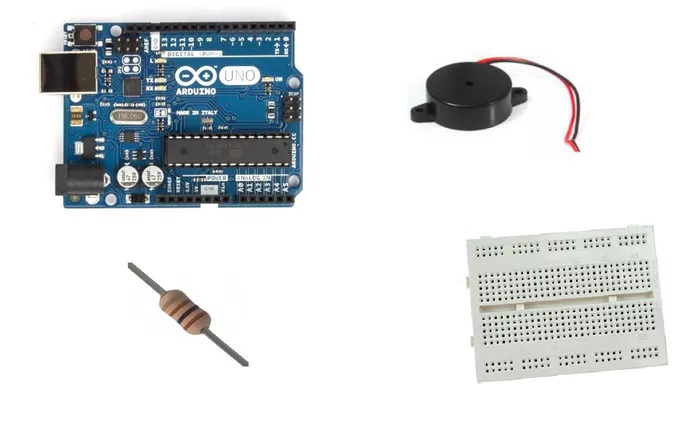
Used materials
- 2 Arduino
- 2 NRF24L01
- 2 LEDs
- 2 button
- 2 10k resistor
- Jumper cables are used for connections
- 2 small bread board
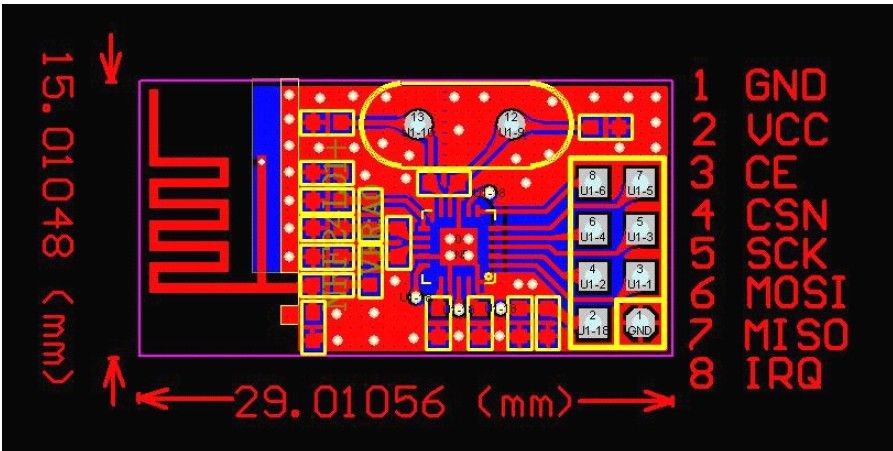
NRF24L01 Connection with Arduino
Arduino NRF24L01
- No. 9 pin -> CE
- No. 10 pin -> CSR
- No. 11 pin -> MOI
- No. 12 pin -> MISO
- No. 13 pin -> SCK
- 3.3 Volt -> Vcc
- GND -> GND
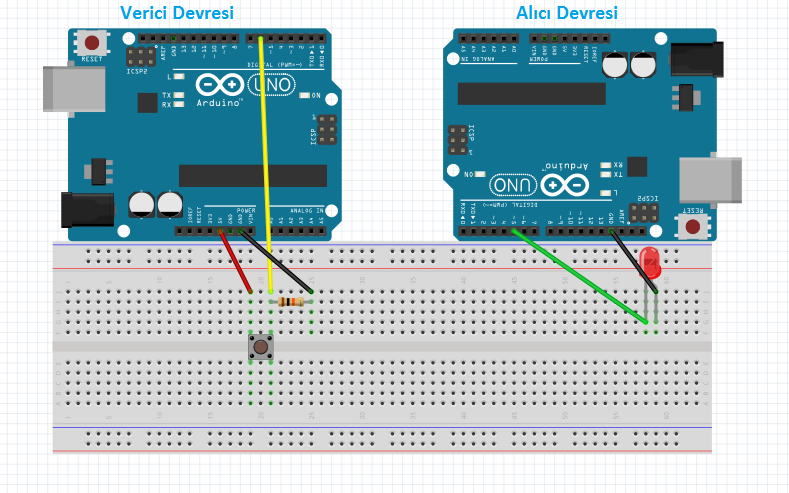 Button binding logic as in this way button will be connected to the Arduino No. 6 pins.
LEDs in this way will be connected to the Arduino Led No. 3 pins.
Arduino code
Buyers Codes
#include<SPI.h>#include"nRF24L01.h"#include"RF24.h"int msg[1];RF24 radio(9,10);constuint64_t pipe = 0xE8E8F0F0E1LL;int LED1 = 3;int LED2 = 5;void setup(void){Serial.begin(9600);radio.begin();radio.openReadingPipe(1,pipe);radio.startListening();pinMode(LED1, OUTPUT);pinMode(LED2, OUTPUT);}void loop(void){if(radio.available()){bool done = false;while(!done){done = radio.read(msg, 1);Serial.println(msg[0]);if(msg[0] == 111){delay(10);digitalWrite(LED1, HIGH);}elseif(msg[0] == 112) {digitalWrite(LED1, LOW);}elseif(msg[0] == 113) {delay(10);digitalWrite(LED2,HIGH);}else{digitalWrite(LED2, LOW);}delay(10);}}else{Serial.println("boş");}}Transmitter Codes
#include <SPI.h>#include "nRF24L01.h"#include "RF24.h"int msg[1];RF24 radio(9,10);const uint64_t pipe = 0xE8E8F0F0E1LL;int SW1 = 7;int SW2 = 6;void setup(void){Serial.begin(9600);radio.begin();radio.openWritingPipe(pipe);}void loop(void){if (digitalRead(SW1) == HIGH){msg[0] = 111;radio.write(msg, 1);}if (digitalRead(SW1) == LOW){msg[0] = 112;radio.write(msg, 1);}if (digitalRead(SW2) == HIGH){msg[0] = 113;radio.write(msg, 1);}if (digitalRead(SW2) == LOW){msg[0] = 114;radio.write(msg, 1);}}


Post Comment
You must be logged in to post a comment.