Arduino UNO: Flex Sensor and LEDs
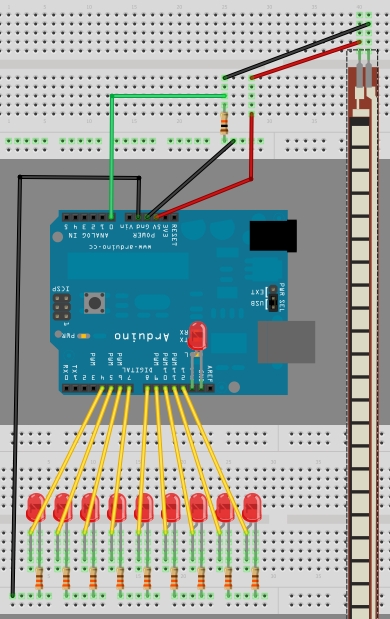
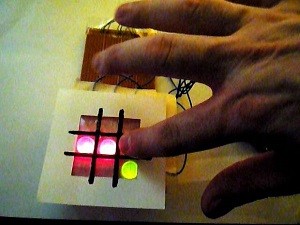
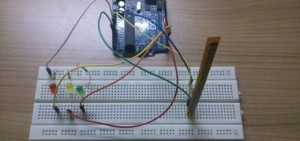
Using the same LED matrix as before, and swapping the Photo Resistor for a Flex (or Bend) sensor, and a slight modification to the code, I can now have a light show that can be controlled by “Bending”.
I used my finger to bend the sensor, but I could have attached it to a plant, a tree or anything else that bends. The bending changes the resistance, and therefore the INPUT value at analog pin 0.
The parts required
- Arduino UNO
- 10 x Red LEDs
- 9 x 330 Ohm resistors for the LEDs
- 1 x 10K Ohm resistors for the flex sensor.
- 1 x Flex sensor
- Wires and Breadboard to connect it all together
The Sketch
The Arduino Code:
//Flex Sensor Pin (flexPin)
//the analog pin the Flex Sensor is connected to
int flexPin = 0;

void setup() {
  for (int i=4; i<14; i++){
    pinMode(i, OUTPUT); //sets the led pins 4 to 13 to output
  }
}

void loop(){
 //Ensure to turn off ALL LEDs before continuing
 for (int i=4; i<14; i++){
    digitalWrite(i, LOW);
  }

 /* Read the flex Level
  Adjust the value 130 to 275 to span 4 to 13
  The values 130 and 275 may need to be widened to suit
  the minimum and maximum flex levels being read by the
  Analog pin */
 int flexReading = map(analogRead(flexPin), 130, 275, 4, 13);

// Make sure the value does not go beyond 4 or 13
 int LEDnum = constrain(flexReading, 4, 13);

/*Call the blink function: this will turn the LED on for 10 milliseconds, and keep it
  off for only 1 millisecond. You can change the blink rate by changing these values,
  however, I want a quick response time when the flex sensor bends, hence the small
  values. LEDnum determines which LED gets turned on.*/
 blink(LEDnum, 10,1);
}

// The blink function - used to turn the LEDs on and off
void blink(int LEDPin, int onTime, int offTime){
  // Turn the LED on
 digitalWrite(LEDPin, HIGH);

  // Delay so that you can see the LED go On.
 delay(onTime);

  // Turn the LED Off
  digitalWrite(LEDPin, LOW);

 // Increase this Delay if you want to see an actual blinking effect.
  delay(offTime);
}





Post Comment
You must be logged in to post a comment.