This tutorial explains the working of DTMF and how it can be embedded with Arduino based project. We have added working demo with two arduino based development board
1. Introduction:
Whenever we dial to a customer care service and there machine responses “Press 1 to do so”, “Press 2 to do so”. That is an application of DTMF. You can use DTMF in such application for example you want to switch on your AC 1 hour before you reach your home so that when you enter your home you get an air conditioned environment.
Thus DTMF is a low cost solution of controlling equipment from a remote location wirelessly
2. Hardware Required:
1.Arduino Uno.
2. DTMF MODULE.
3. JUMPER WIRE
4. 9V BATTERY
5. LED ARRAY
3. CIRCUIT:
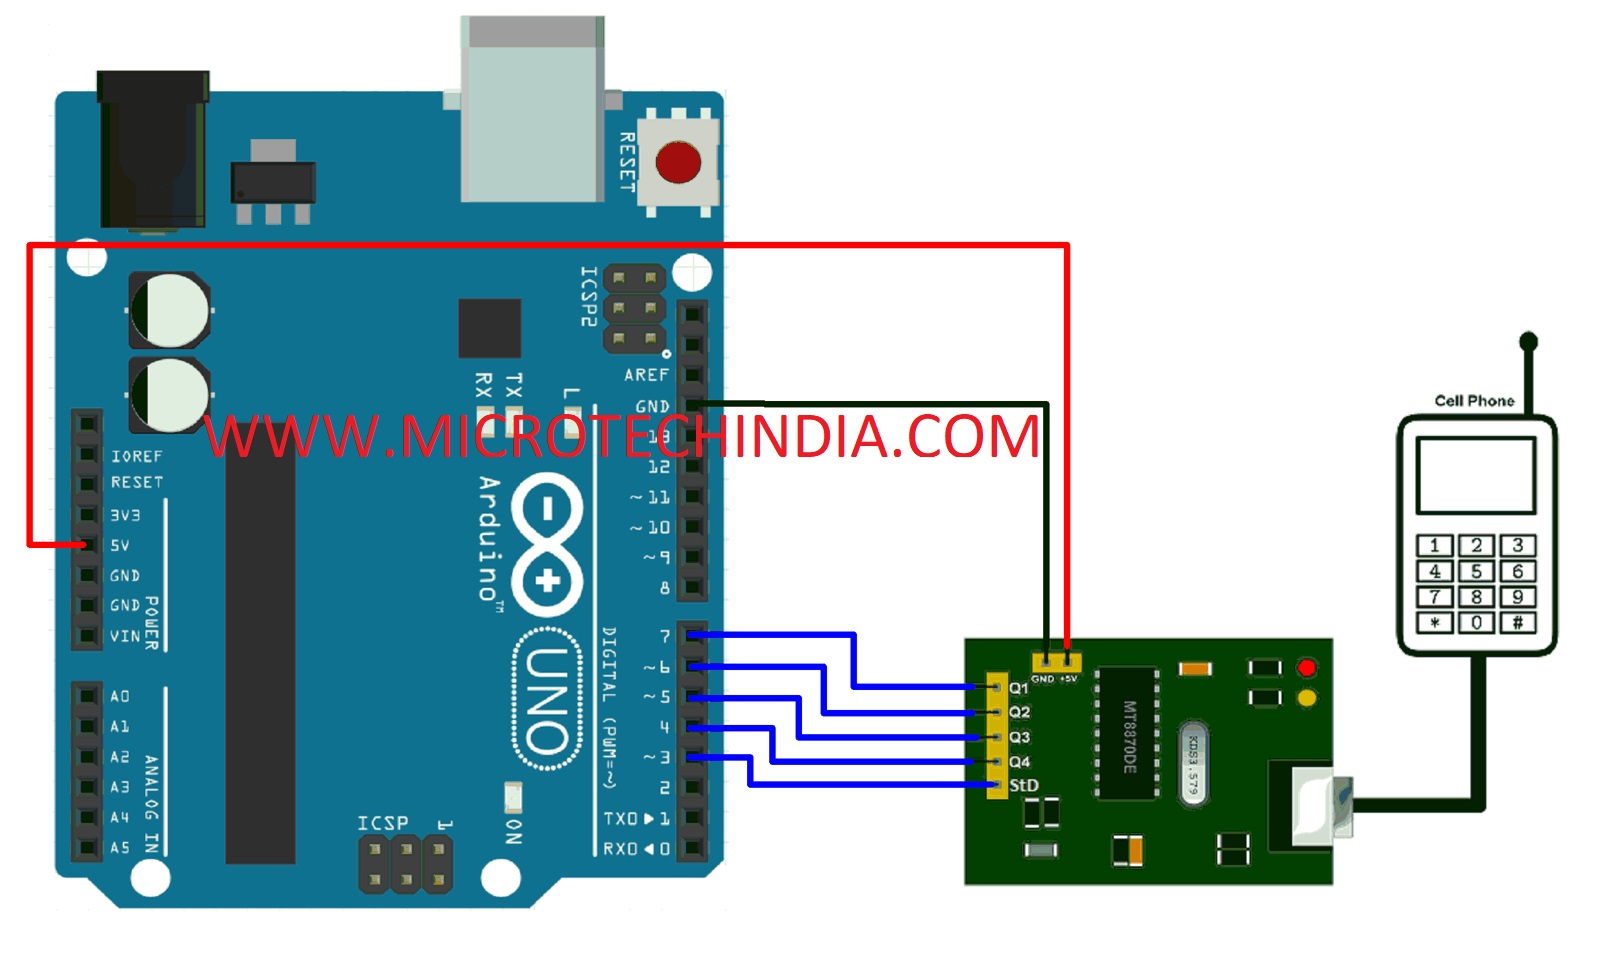
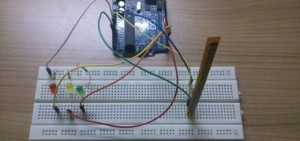
You can make this on Arduino UNO as following:
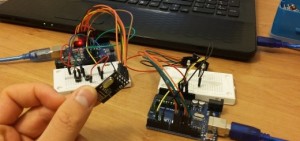
3.1 Now connect a phone to DTMF module with the help of 3.5mm Aux cable.
3.2 Connect Arduino UNO/R-Board with computer and you are ready with hardware part.
4. Programming
4.1 Copy/paste the following code and upload the same. (The complete code is explained in Comments, please go through the code.)
const int Q1 = 2;  // Defining Digital Input Pins from DTMF Module
const int Q2 = 3;
const int Q3 = 4;
const int Q4 = 5;

int SoQ1 = 0;     // Defining variable to store the status(HIGH/LOW) of above inputs.
int SoQ2 = 0;
int SoQ3 = 0;
int SoQ4 = 0;
int oldCon = 0;  //  Variable to know what was the last button pressed.

void setup(){
  pinMode(Q1, INPUT);  // Defining pins as input.
  pinMode(Q2, INPUT);
  pinMode(Q3, INPUT);
  pinMode(Q4, INPUT);
  Serial.begin(9600);   // Setup Serial Communication.

}

void loop(){
  SoQ1 = digitalRead(Q1);  // Reading status of Input Pins. It can be LOW or HIGH
  SoQ2 = digitalRead(Q2);
  SoQ3 = digitalRead(Q3);
  SoQ4 = digitalRead(Q4);

  if(SoQ4==LOW && SoQ3==LOW && SoQ2==LOW && SoQ1==HIGH )   // Condition for Button 1. It is equal to Binary - 0001
  {
    if (oldCon!=1){                                       // Here we are testing that what was the last pressed button,
//We want actions to be done when current is not as the lastone.
       Serial.println("1");
       // Your Action goes here.                         // You can add your set of action here.
    }
    oldCon=1;
  }
  else if(SoQ4==LOW && SoQ3==LOW && SoQ2==HIGH && SoQ1==LOW )  // Condition for Button 2. It is equal to Binary - 0010
    {
      if (oldCon!=2){
         Serial.println("2");
         // Your Action goes here.
       }
      oldCon=2;
    }
  else if(SoQ4==LOW && SoQ3==LOW && SoQ2==HIGH && SoQ1==HIGH )  // Condition for Button 3. It is equal to Binary - 0011
    {
      if (oldCon!=3){
         Serial.println("3");
         // Your Action goes here.
       }
      oldCon=3;
    }
  else if(SoQ4==LOW && SoQ3==HIGH && SoQ2==LOW && SoQ1==LOW )  // Condition for Button 4. It is equal to Binary - 0100
    {
      if (oldCon!=4){
         Serial.println("4");
         // Your Action goes here.
       }
      oldCon=4;
    }
  else if(SoQ4==LOW && SoQ3==HIGH && SoQ2==LOW && SoQ1==HIGH )  // Condition for Button 5. It is equal to Binary - 0101
        {
      if (oldCon!=5){
         Serial.println("5");
         // Your Action goes here.
       }
      oldCon=5;
    }

  else if(SoQ4==LOW && SoQ3==HIGH && SoQ2==HIGH && SoQ1==LOW )   // Condition for Button 6. It is equal to Binary - 0110
    {
      if (oldCon!=6){
         Serial.println("6");
         // Your Action goes here.
       }
      oldCon=6;
    }
  else if(SoQ4==LOW && SoQ3==HIGH && SoQ2==HIGH && SoQ1==HIGH )  // Condition for Button 7. It is equal to Binary - 0111
    {
      if (oldCon!=7){
         Serial.println("7");
         // Your Action goes here.
       }
      oldCon=7;
    }
  else if(SoQ4==HIGH && SoQ3==LOW && SoQ2==LOW && SoQ1==LOW )   // Condition for Button 8. It is equal to Binary - 1000
    {
      if (oldCon!=8){
         Serial.println("8");
         // Your Action goes here.
       }
      oldCon=8;
    }
  else if(SoQ4==HIGH && SoQ3==LOW && SoQ2==LOW && SoQ1==HIGH )  // Condition for Button 9. It is equal to Binary - 1001
    {
      if (oldCon!=9){
         Serial.println("9");
         // Your Action goes here.
       }
      oldCon=9;
    }
  else if(SoQ4==HIGH && SoQ3==LOW && SoQ2==HIGH && SoQ1==LOW )  // Condition for Button 0 (10). It is equal to Binary - 1010
    {
      if (oldCon!=10){
         Serial.println("0");
         // Your Action goes here.
       }
      oldCon=10;
    }
  else if(SoQ4==HIGH && SoQ3==LOW && SoQ2==HIGH && SoQ1==HIGH )  // Condition for Button * (11). It is equal to Binary - 1011
    {
      if (oldCon!=11){
         Serial.println("*");
         // Your Action goes here.
       }
      oldCon=11;
    }
  else if(SoQ4==HIGH && SoQ3==HIGH && SoQ2==LOW && SoQ1==LOW )  // Condition for Button # (12). It is equal to Binary - 1100
    {
      if (oldCon!=12){
         Serial.println("#");
         // Your Action goes here.
       }
      oldCon=12;
    }
  else if(SoQ4==HIGH && SoQ3==HIGH && SoQ2==LOW && SoQ1==HIGH )  // Condition for Button A (13). It is equal to Binary - 1101
    {
      if (oldCon!=13){
         Serial.println("A");
         // Your Action goes here.
       }
      oldCon=13;
    }
  else if(SoQ4==HIGH && SoQ3==HIGH && SoQ2==HIGH && SoQ1==LOW )   // Condition for Button B (14). It is equal to Binary - 1110
    {
      if (oldCon!=14){
         Serial.println("B");
         // Your Action goes here.
       }
      oldCon=14;
    }
  else if(SoQ4==HIGH && SoQ3==HIGH && SoQ2==HIGH && SoQ1==HIGH )   // Condition for Button C (15). It is equal to Binary - 1111
    {
      if (oldCon!=15){
         Serial.println("C");
         // Your Action goes here.
       }
      oldCon=15;
    }
  else if(SoQ4==LOW && SoQ3==LOW && SoQ2==LOW && SoQ1==LOW )   // Condition for Button D (0). It is equal to Binary - 0000
    {
      if (oldCon!=0){
         Serial.println("D");
         // Your Action goes here.
       }
      oldCon=0;
    }

delay(50);   // Debounce Delay.

}
4.2 After uploading above mentioned code, Open serial monitor. And you will find following output.
The buttons you press it is displayed on serial monitor. In the codding section we have provided comments where you can add set of action with the input condition for your projects.



Post Comment
You must be logged in to post a comment.