Grove Button Tutorial
Introduction
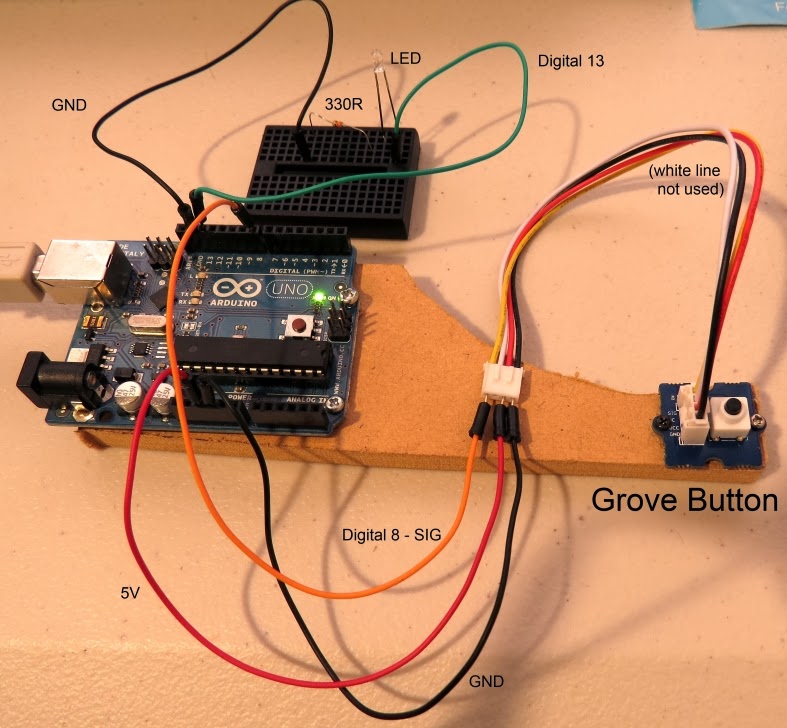
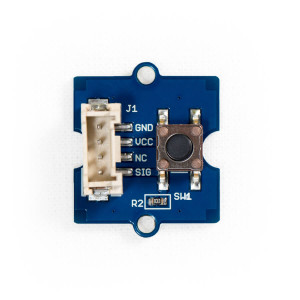
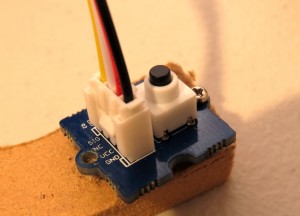
The Grove Button is a handy little component which simplifies the push-button experience. It doesn’t take much programming to get this component to work. And while the button works extremely well with the Grove Base Shield, we will be connecting this button directly to the Arduino UNO.
The button will be LOW in its normal resting state, and report HIGH when the button is pressed. Have a look at the video below to see this project in action.
Parts Required
- Mini Breadboard 4.5cm x 3.5cm
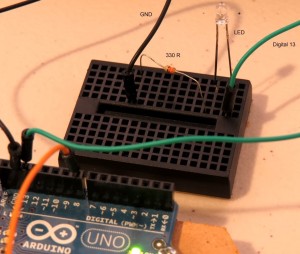
- LED and 330 ohm resistor
- Breadboard Jumper Wire
- Arduino UNO (or compatible board)
- Grove Button
- Grove Universal 4 pin 20cm Cable
Sketch
Arduino Sketch
void setup(){
   pinMode(8, INPUT);
   pinMode(13, OUTPUT);
 }

 void loop(){
   digitalWrite(13, digitalRead(8));
 }
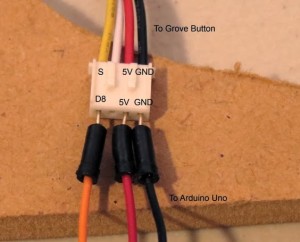
The signal pin of the Grove Button attaches to digital pin 8 on the Arduino, and the LED is connected to digital pin 13 on the Arduino. When the button is pressed, it will send a HIGH signal to digital pin 8, which will turn the LED on. When the button is released, the signal will change to LOW and the LED will turn off.



Post Comment
You must be logged in to post a comment.