How to Add Sound to Raspberry Pi Game Pad
[nextpage title=”Summary” ]The Raspberry pi is a single board computer that is designed with an aim of providing help in the computer education to students at school. This is a nice platform to try different programming techniques and learn software tools also. The board is provided with a RCA connector which can be used to connect it directly to a TV screen which is based on PAL and NTSC standard. The board also has a HDMI connector output which can be used to connect the board to a HD TV.
The Raspberry pi board is also very easy to interface with external devices or circuits through its pin outs. This board is also provided with an audio socket also. All these makes the Raspberry pi a suitable platform for playing and developing interesting games.
This article focuses on
how to add sound to a game that is coded to be played with a Raspberry pi gamepad. This simple graphical game is coded using the HTML5 and JavaScript language and interfaced it with a simple game pad hardware connected to the pins of Raspberry pi board. This game is added with a background music and keypad tones which can be enjoyed while playing with the help of a headset or sound system.
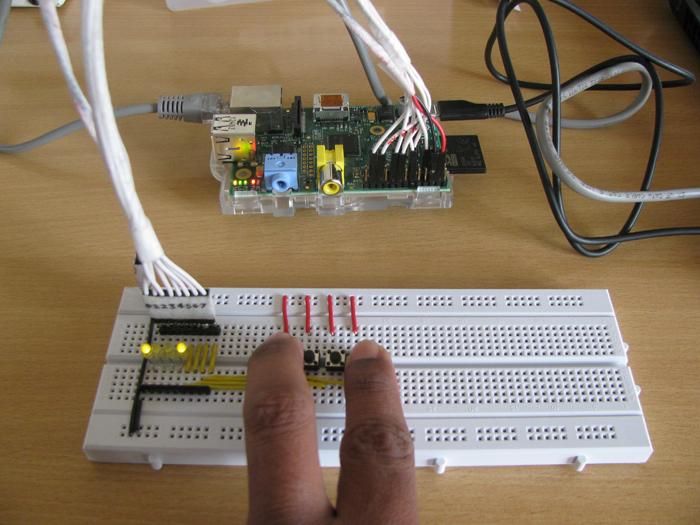
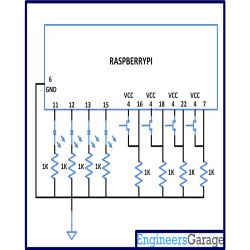
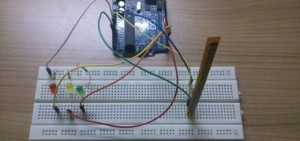
[/nextpage][nextpage title=”Description” ]The gamepad is a simple circuit built on a breadboard with few buttons, LEDs and a resistor array. There are eight general purpose IO pins on the 13*2 pin connectors of the Raspberrypi board and among them four pins has been selected as input and then remaining four pins as output. The input pins are connected to push button and are pulled down using 1K resistors. The output pins are connected to the LEDs through another set of 1K resistors.
This game uses two MP3 files bgm.mp3 and kpm.mp3, one for the background music and the other for playing the keypad tone. There are so many command line media player software available that can be downloaded and installed on the Ubuntu of the Raspberry pi. The MPG321 is one such command line audio player that can be installed easily using the following command;
sudo apt-get -y install mpg321
This MPG321 is an MP3 player application and any MP3 file can be played with the help of this application by typing the following command format
mpg321 <filename.mp3>
This software has lot of options like volume control, file seeking, remote mode of operation which makes it perfect to use with any kind of front end applications, here the HTML game as an example. More details about the options can be found at the man pages;
man mpg321
The game runs in a browser window and it communicates with the game pad through a Named Pipe or FIFO. There are multiple processes running which can read from the game pad and write the required commands to the FIFO for controlling the game. The JavaScript written in the game code simply reads from the FIFO for the input control data.
The NAMED PIPE or FIFO needs to be created using the following command in the same directory where the executable for the gamepad code written in C and the HTML game files written in HTML5 and JavaScript exist.
mkfifo xyz
The parent process in the C code creates five child processes, among which four of them are dedicated for each of the keys in the gamepad and the fifth one is for playing the background music. Whenever a key is pressed or released, they will generate a signal and send it to the parent process with a value.
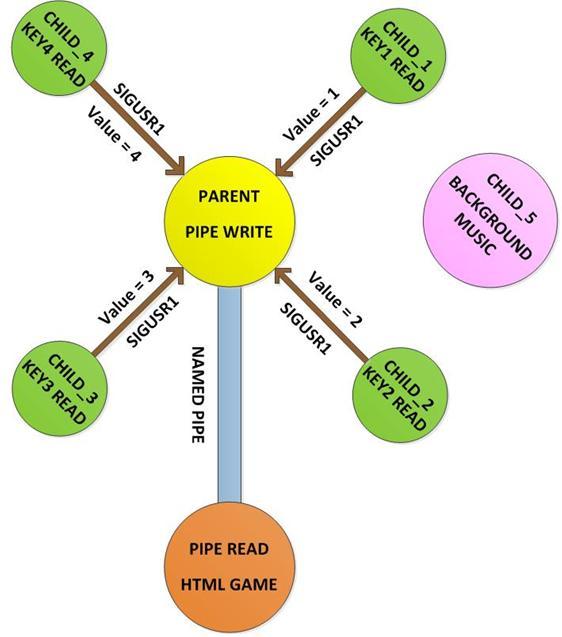
As soon as the parent process detects a key press from the value it received along with the signal, it simply writes a particular character corresponding to that key to the NAMED PIPE or FIFO. The HTML game will be reading continuously from the FIFO every 500ms to get the input. Hence both the C code and the HTML file needs to be in the state of execution. The gamepad hardware communicates with the C code only and the C code communicates with the JavaScript using the NAMED PIPE.
The background music will keep on playing as a separate child process from the time the game starts and the keypad tones will be played by the Parent function whenever it detects a signal from the child processes which are dedicated to read the gamepad keys. The Parent process uses the “system()” function to play the keypad tone as shown in the following statement.
[/nextpage][nextpage title=”Circuit Diagram” ]
[/nextpage]
 [/nextpage][nextpage title=”Description” ]The gamepad is a simple circuit built on a breadboard with few buttons, LEDs and a resistor array. There are eight general purpose IO pins on the 13*2 pin connectors of the Raspberrypi board and among them four pins has been selected as input and then remaining four pins as output. The input pins are connected to push button and are pulled down using 1K resistors. The output pins are connected to the LEDs through another set of 1K resistors.


Post Comment
You must be logged in to post a comment.