Description:
In this video, I’ll show you how to make your very first Arduino project even more fun by making an LED blink! It’s easy, it’s exciting, and you’ll learn how to add a small delay in the code to switch the LED on and off. Perfect for beginners and kids who want to explore electronics and programming!
What You’ll Need:
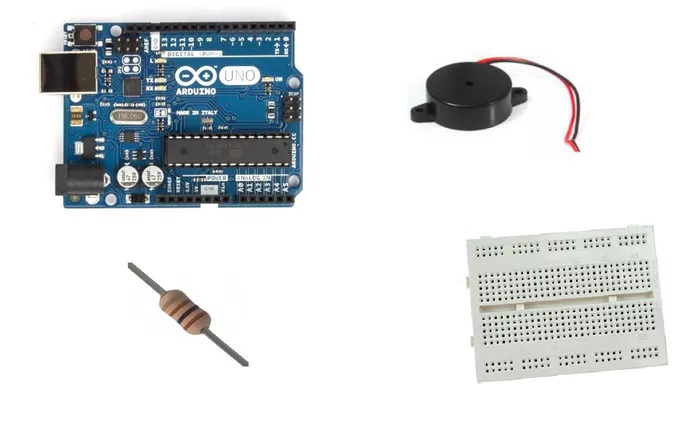
- Arduino board (Arduino Uno, Nano, or any compatible model)
- LED (Light Emitting Diode)
- 220-ohm resistor
- Breadboard
- Jumper wires
What You’ll Learn:
- How to wire an LED to your Arduino.
- How to write and upload code to make an LED blink.
- Basic understanding of using delays in Arduino programming.
The Circuit Diagram:
- LED:
- Connect the long leg (positive or anode) of the LED to Pin 13 on the Arduino.
- Connect the short leg (negative or cathode) of the LED to GND on the Arduino, through a 220-ohm resistor.
Circuit Diagram:
scssCopy code [LED]  ---> Pin 13 (Arduino)
    |
   220Ω
    |
  (GND) (Arduino)
Arduino Code:
Here’s the code to make the LED blink on and off. We’ll add a delay to make the LED stay on for a short period, then off for a short period, repeating in a loop.
cppCopy code// Define the pin for the LED
int ledPin = 13;  // LED connected to digital pin 13

void setup() {
  pinMode(ledPin, OUTPUT);  // Set the LED pin as an output
}

void loop() {
  digitalWrite(ledPin, HIGH);  // Turn on the LED
  delay(1000);  // Wait for 1 second (1000 milliseconds)

  digitalWrite(ledPin, LOW);   // Turn off the LED
  delay(1000);  // Wait for 1 second (1000 milliseconds)
}
How the Code Works:
- pinMode(ledPin, OUTPUT);: This sets Pin 13 as an output so we can control the LED connected to it.
- digitalWrite(ledPin, HIGH);: This turns the LED on by sending a high signal to Pin 13.
- delay(1000);: The
delay()function pauses the program for the specified amount of time (in milliseconds). Here, we’re pausing for 1000 milliseconds (1 second). - digitalWrite(ledPin, LOW);: This turns the LED off by sending a low signal to Pin 13.
- The loop repeats, so the LED will keep blinking on and off every second.
How to Set Up the Circuit and Upload the Code:
- Wire the Circuit:
- Connect the long leg (anode) of the LED to Pin 13 on the Arduino.
- Connect the short leg (cathode) of the LED to GND on the Arduino, through a 220-ohm resistor.
- Upload the Code:
- Open the Arduino IDE on your computer.
- Paste the provided code into the IDE.
- Select your Arduino board and port under Tools in the Arduino IDE.
- Click the Upload button to send the code to your Arduino.
- Watch the LED Blink:
- After uploading, your LED will blink on and off every second, creating a simple blink effect.
What You’ve Learned:
- Basic Arduino programming: You now know how to use
pinMode(),digitalWrite(), anddelay()functions. - Blinking LEDs: By using
digitalWrite()to change the LED state anddelay()to control how long it stays on or off, you made your LED blink. - Understanding timing: The
delay()function lets you control how fast the LED blinks.
Next Steps:
Once you’ve mastered this blinking LED, you can try these fun ideas:
- Change the Blink Speed: Adjust the delay time in the code to make the LED blink faster or slower.
- Multiple LEDs: Add more LEDs to the circuit and make them blink in a pattern.
- Control with Input: Try using a button or sensor to control when the LED blinks.
Conclusion:
Congratulations on making your LED blink! You’ve learned how to create a simple, fun light-up circuit with Arduino, and now you have the skills to explore more advanced projects. Keep experimenting with different components and codes—you’re well on your way to becoming an Arduino pro!



Post Comment
You must be logged in to post a comment.