[nextpage title=”Introduction” ]
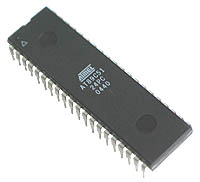
8051 Micro controller is a programmable device which is used for controlling purpose. Basically 8051 controller is Mask programmable means it will programmed at the time of manufacturing and will not programmed again, there is a derivative of 8051 micro controller, 89c51 micro controller which is re-programmable.
89c51 is 8-bit device means it is capable of doing 8-bit operations. It have 4 ports which are used as input or output according to your need.[sam_block id=”2″]
This device also have Timer, Serial Port interface and Interrupt controlling you can use these according to your need.
[/nextpage]
[nextpage title=”Detail about Keil” ]
Using Keil uVision 4
- Download and Install Keil uVision4
- Open Keil uVision
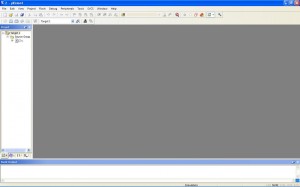
3. Create a new Project : Project >> Create µVision Project
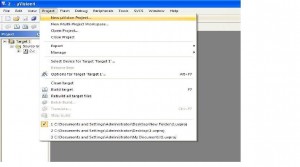
4. Browse for the location
5. Select the microcontroller Atmel>>AT89C51
6. Don’t Add The 8051 startup code
7. File>>New
8. Adding Hex file to the output
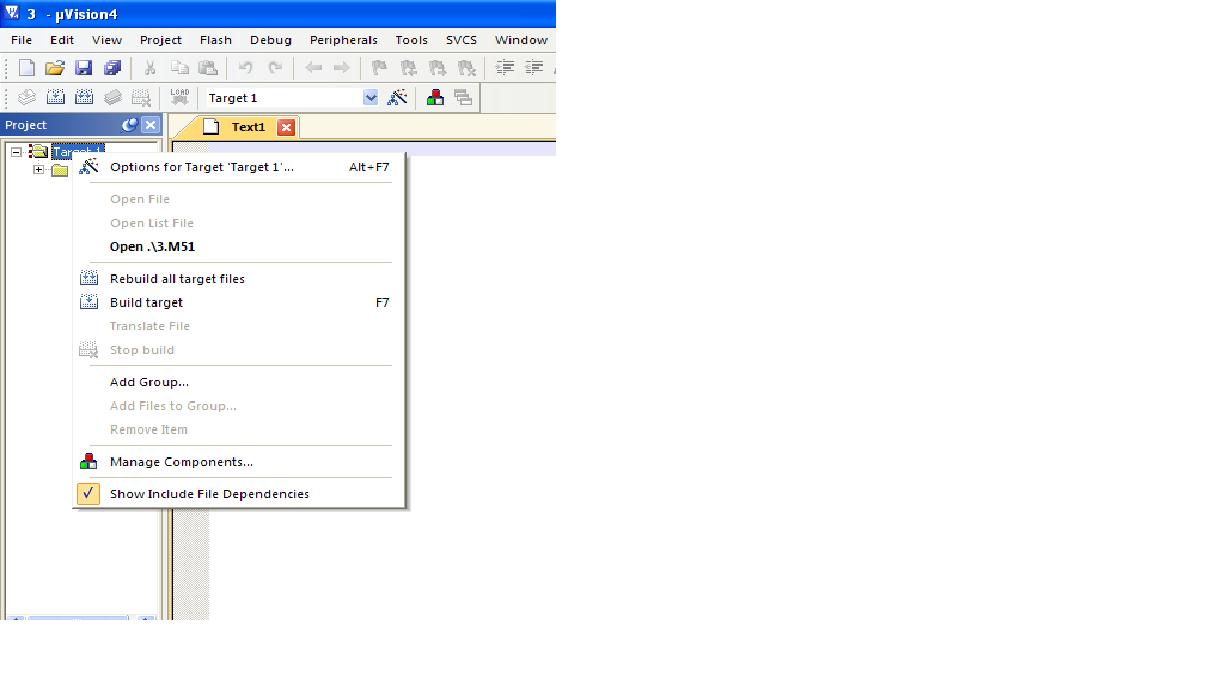
Right click on Target1>>options for target “target 1”
In the Output Tab check the “Create HEX file” box<
[sam_block id=”2″]
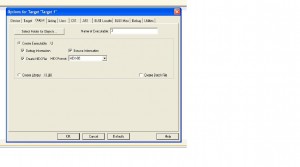
To change the operating frequency goto Target tab on the window obtained by right clicking on Target1>>options for target “target
[/nextpage]
[sam_block id=”2″]
[nextpage title=”Program” ]
[message_box title=”Program” color=”red”]
Keil C Program:
#include<reg51.h>
void delay()
{
unsigned int i,j;
for(i=0;i<1000;i++)
{
}
}
void main()
{
while(1)
{
P1=0x01;
delay();
P1=0x02;
delay();
P1=0x04;
delay();
P1=0x08;
delay();
P1=0x10;
delay();
P1=0x20;
delay();
P1=0x40;
delay();
P1=0x80;
delay();
}
}[sam_block id=”2″]
- Enter the source code.
- Save it.
- Then Compile it. Click Project>>Build Target or F7.
- The hex file will be generated in your Project Folder.
[/message_box]
[/nextpage]



Post Comment
You must be logged in to post a comment.