How to Test LED
Step 1: Understanding the component
Light emitting diode (LED)is a small component used in almost every electronic device. Led has 2 terminals or legs. The bigger leg is the anode or positive terminal and shorter leg is cathode or negative terminal.
But this method of identifying the leads will not always work. Consider the case in which the legs of the LEDs are already cut into same lengthfor using in a circuit. Even in such cases the following method works.
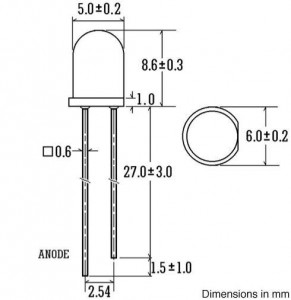
Just take a close look at the geometry of a standard 5mm LED.
The one side is rounded shape and the other side has been made a little straighter (right hand side drawing in the image). The leg in the straight side is always negative and the leg in the rounded side is always positive.
[tie_slideshow]
[tie_slide] Multimeter Tutorial: How to Test LED [/tie_slide]
[tie_slide] Multimeter Tutorial: How to Test a Transistor [/tie_slide]
[tie_slide] Multimeter Tutorial: How to Test and Measure Resistance [/tie_slide]
[/tie_slideshow]
Step 2: Digital Multimeter
Set the digital multimeter on the continuity mode. If you touch the testing leads to each other the multimeter will give a continuous beep sound. The beep sound means that the multimeter is working perfectly.
How to Test an LED using Multimeter
In the above multimeter, the knob is turned to the continuity mode which is at 400 ohm section. Testing leads should be plugged into the multimeter as shown in the above image.
Step 3:LED Connections
Crocodile teeth testing lead is added as an extension to the original leads of the multimeter.
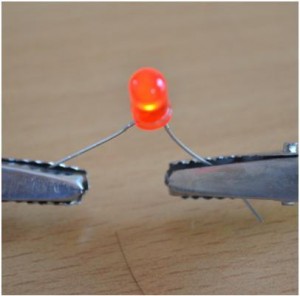
Crocodile probes are connected to the LED terminal according to their polarity. Longer leg is connected to the positive supply and shorter to negative (grounded).
Step 4:Checking the continuity
- {Ca) Power ON the multimeter
- {Cb)Set the knob on the continuity mode.

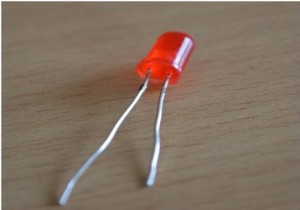
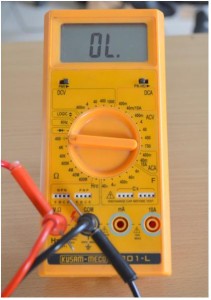
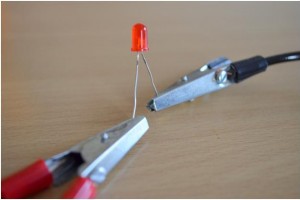



Post Comment
You must be logged in to post a comment.