Welcome to your first Arduino project! In this simple and fun project, we’ll make an LED light up when the circuit is powered on. There’s no switch or button involved—just a direct connection between your Arduino and the LED.
Components You’ll Need:
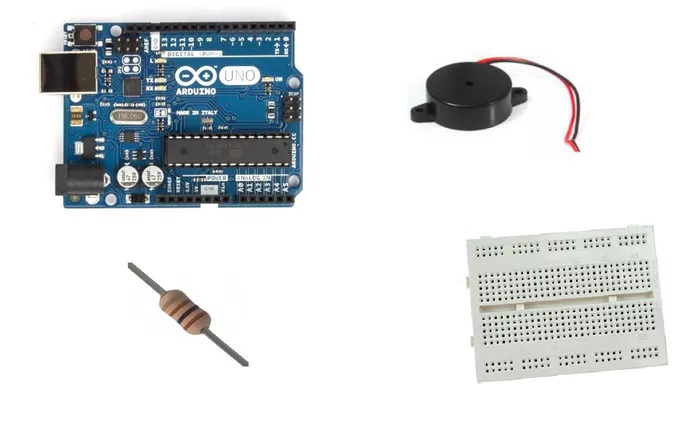
- Arduino board (Arduino Uno, Nano, or any compatible model)
- LED (Light Emitting Diode)
- 220-ohm resistor
- Breadboard
- Jumper wires
The Circuit Diagram:
Here’s how to wire the circuit:
- LED:
- Connect the long leg (positive or anode) of the LED to Pin 13 on the Arduino.
- Connect the short leg (negative or cathode) of the LED to GND on the Arduino, through a 220-ohm resistor. The resistor is needed to limit the current flowing through the LED, preventing it from burning out.
Arduino Code:
Now, let’s write the code to turn on the LED when the Arduino is powered on.
//Define the pin for the LED
int ledPin = 13;  // LED connected to digital pin 13

void setup() {
  pinMode(ledPin, OUTPUT);  // Set LED pin as an output
}

void loop() {
  digitalWrite(ledPin, HIGH);  // Turn on the LED
}
How the Code Works:
- pinMode(ledPin, OUTPUT);: This sets Pin 13 as an output, meaning we can control the LED connected to it.
- digitalWrite(ledPin, HIGH);: This sends a signal to Pin 13 to turn the LED on.
- The LED stays on because there’s no code telling it to turn off (you can later modify the code to make it blink or turn off).
How to Set Up the Circuit and Upload the Code:
- Wire the Circuit:
- Connect the LED and resistor as shown in the circuit diagram above.
- Plug the Arduino into your computer using the USB cable.
- Upload the Code:
- Open the Arduino IDE on your computer.
- Paste the provided code into the IDE.
- Select your Arduino board and port from the Tools menu.
- Click the Upload button to send the code to the Arduino.
- Watch the LED Light Up:
- After uploading the code, your LED should light up immediately!
- If the LED doesn’t light up, double-check your wiring and ensure your code uploaded successfully.
What You’ve Learned:
- How to wire an LED to your Arduino board.
- How to write and upload your first Arduino code to control an LED.
- Basic electronics concepts like using resistors to limit current and controlling an output pin.
Next Steps:
Once you’ve completed this project, you can try these fun ideas:
- Make the LED Blink: Add a small delay in the code and change the LED state from on to off to make it blink.
- Use Multiple LEDs: Add more LEDs to your circuit and control them in different patterns.
- Experiment with Sensors: Try adding a light sensor or a temperature sensor to control the LED based on environmental conditions.
Conclusion:
Congratulations on completing your first Arduino project! You’ve learned how to create a simple light-up circuit with an LED and written your first program. Now you’re ready to dive deeper into the world of Arduino, electronics, and coding. Keep experimenting and building—you’re just getting started!






Post Comment
You must be logged in to post a comment.