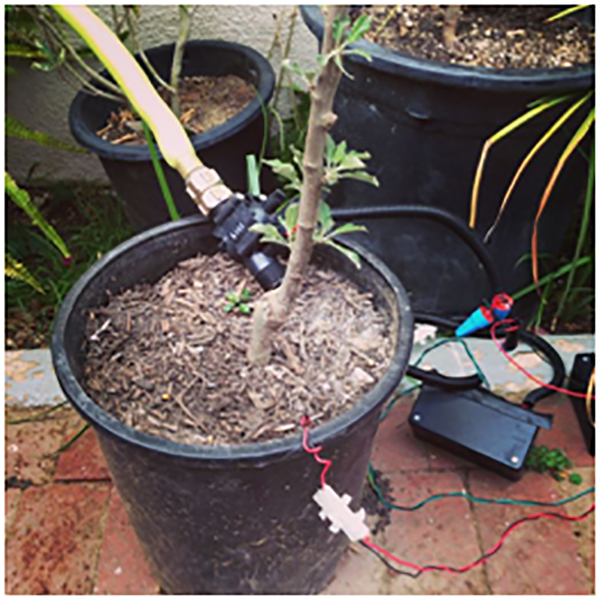
Raspberry Pi for Irrigation Control
[nextpage title=”Description” ]
This system requires all GPIO libraries of your Pi. The other materials required are a 24VAC solenoid irrigation valve which turns the water ON when voltage is applied and turns it OFF when the power is OFF.A relay which acts as an intermediary switch. The input is 3-8VDC and output is 24-120VAC. The other components include a N3904 transistor, a 4.7Kohm resistor, an AC power adaptor, a general purpose board and a water proof container. Make sure you have your soldering equipment as well.
After making the solenoid connections, be sure to check if it is working by connecting it to the power adaptor. Make sure the power is OFF prior to touching the wires. The relay, GPIO, 3.3VDC pin, GND pin, transistor and resistor are soldered onto the general purpose PCB. One end of the valve is used as an AC power source lead and the other is connected to the relay AC output pins.
For waterproofing, be sure to coat all the exposed connections with epoxy as they may come in contact with water. Also, check the continuity with the help of a multimeter multiple times. Place the PCB and the Pi in a waterproof container. Also, seal the external power cables with waterproof tape or by drilling holes and sealing the box with epoxy. Be careful to organize loose wires by twisting them or tying the ends with a zip tie.
Here’s a challenge for your creative minds: use a soil moisture sensor so that you can stop the water flow as per the soil requirement. This can be done by copying the valve functions into the soil moisture control program. You can customize the system by adding a feature of controlling it via a mobile phone. The program can be rewritten as per your need. So here’s a way you can be a life saver for your plants. Go crazy with your own customizations!