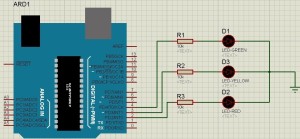
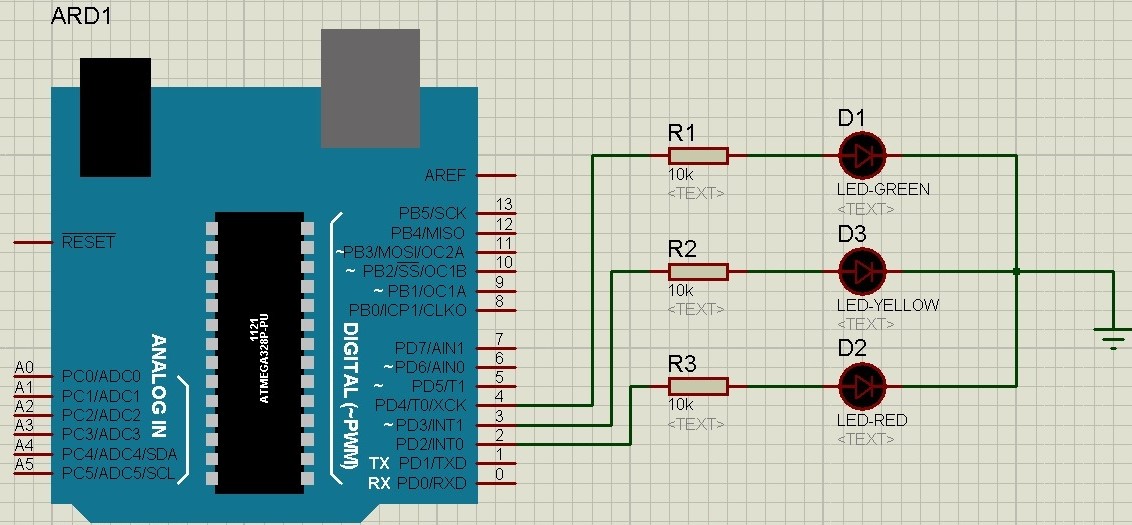
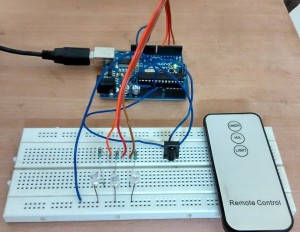
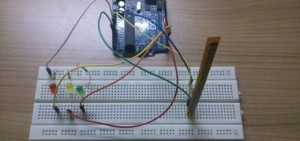
- Its quite a simple project so the circuit is quite simple as well. You can see I have just placed an Arduino board and plugged three LEDs with it and obviously they are Green, Yellow and Red in color.
- These LEDs are attached to pins 2,3 and 4 of Arduino UNO.
- Now next step is to write the Arduino Code, so I have written and it is shown below:
ARDUINO CODE:
#define GreenLed 4
 #define YellowLed 3
 #define RedLed 2
void setup()
 {
 pinMode(GreenLed, OUTPUT);
 pinMode(YellowLed, OUTPUT);
 pinMode(RedLed, OUTPUT);
 }
void loop()
 {
digitalWrite(GreenLed, HIGH);
digitalWrite(YellowLed, LOW);
digitalWrite(RedLed, LOW);
delay(5000);delay(5000);
 digitalWrite(GreenLed, LOW);
digitalWrite(YellowLed, LOW);
digitalWrite(RedLed, HIGH);
 delay(5000);delay(5000);
 digitalWrite(GreenLed, LOW);
digitalWrite(YellowLed, HIGH);
digitalWrite(RedLed, LOW);
 delay(3000);
 }
- That’s the complete code for this project and I think its quite self explanatory plus I have also changed the color accordingly.
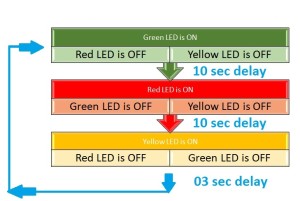
- First of all Green LED is ON and the rest are OFF which is shown in green color.
- Next Red LED is ON and the rest are OFF after around 10 seconds which you can change by changing these delays.
- Finally the Yellow LED will be ON and you can see it goes OFF just after 3 sec because it has short delay, you can change these delays quite easily.
- Below is the flow chart of above programming which will clear the theme properly.
- Now compile your Arduino code and get the hex file.
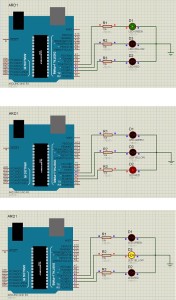
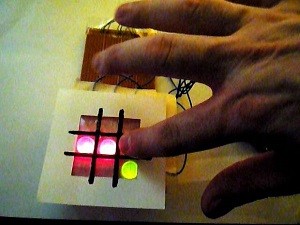
- Now when you upload the hex file into your Arduino, it will give output as shown below:





Post Comment
You must be logged in to post a comment.